How to Do Star Trails, Old and New
On those clear starry nights when I am out searching for the aurora borealis, but no lights come out to play, I like to make sure that the effort of being out late and freezing my tuchus off is still worthwhile. One way to do this is to highlight the magic of those starry skies through a star trails capture.
Up until about 2009, the only way I had ever considered capturing star trails was with a single, multi-hour exposure. The technical aspects of capturing such a photo are fairly simple. Set the ISO of your digital single-lens reflex (DSLR) camera to 100, white balance to auto, exposure to manual on the “bulb” setting, and the f-stop to f/2.8. Turn off the auto focus on your camera and set the manual focus to Infinity. Do not turn your focus ring all the way over to the end where the Infinity symbol is, that is not a true Infinity. It will take a couple of test shots, zooming in on the stars following each capture, to determine where the true Infinity focus point is. Finally, you will need a shutter cable release that allows you to lock the shutter open. Once you have everything set up and have isolated the composition you desire, push the button on that shutter cable release and lock it in that position. Then, go find something to do for a couple of hours. With DSLR cameras, you will likely not want to set an exposure for longer than three hours or so, as the noise build-up in the image after such a long exposure will not be fixable. This is one advantage film still has over digital – you can create a multi-hour (as long as you want) star trail photo with no image quality degradation.
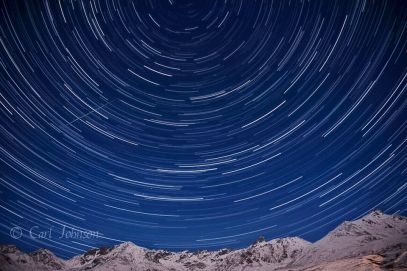
Multi-hour star trails photo using Fuji Velvia film, Chasm Lake, Rocky Mountain National Park
The other critical element for capturing a single-image star trails exposure is the phase of the moon. Anything brighter than a quarter moon will overexpose the landscape when exposed for two or more hours. You cannot compensate by adjusting your f-stop to something higher, like f/8.0 or f/11, as that will take away the much needed exposure of the stars. But, that is not to say that it is impossible to create a star trails image under a bright moon. I have created star trails images on full or nearly-full moon nights before.
The key is to capture several images and then merge them into one using Photoshop. You will need to have a camera with a built-in Intervalometer, like those available in Nikon cameras starting with the Nikon D300, or you will need to purchase one to attach to your camera. The Intervalometer is what allows you to set your camera to take pictures at regular intervals, the key technical requirement of creating a star trails image using several images.
On one nearly-full moonlit night in Hatcher Pass, Alaska, I captured 1,000 images over a one-and-a-half hour period. I set my exposure manually to 4 seconds and ISO to 1600 (applying all of the other settings mentioned previously), and set my Intervalometer to take a photo every 5 seconds for 999 photo captures. It is key to make sure that there is as little gap as possible in between exposures in order to minimize or eliminate gaps in star trails that may occur as a result of star movement in between exposures.
Stacked star trails image, Hatcher Pass, Alaska
Once you have captured your 1,000 or so images, now you need to bring them all together. Even though it takes up a lot of space (with my Nikon D850, each RAW file is 54 megs), I still shoot these in RAW. If I am processing these into a timelapse, I use LR Timelapse to create the video, and that platform creates better results with RAW files. Place all of your star files in a folder that will be easy to locate and isolate. Next, search the Internet to find a usable action that you can download and incorporate into Photoshop. (Photoshop does not have any built-in feature that can do what needs to be done; you cannot simply stack the images in layers and easily merge them into a single layer.) One action I have used is the Star Circle Academy Stacker (now Advanced Stacker Plus). I used a similar action three years ago when creating a star trail photo during a full moon in Badlands National Park while spending time there as the park’s Artist-in-Residence. In that case, I had set my camera to take photos all night in order to create a time lapse. This presents another advantage of setting up a star trails photo using this method – the images captured can also have other applications.
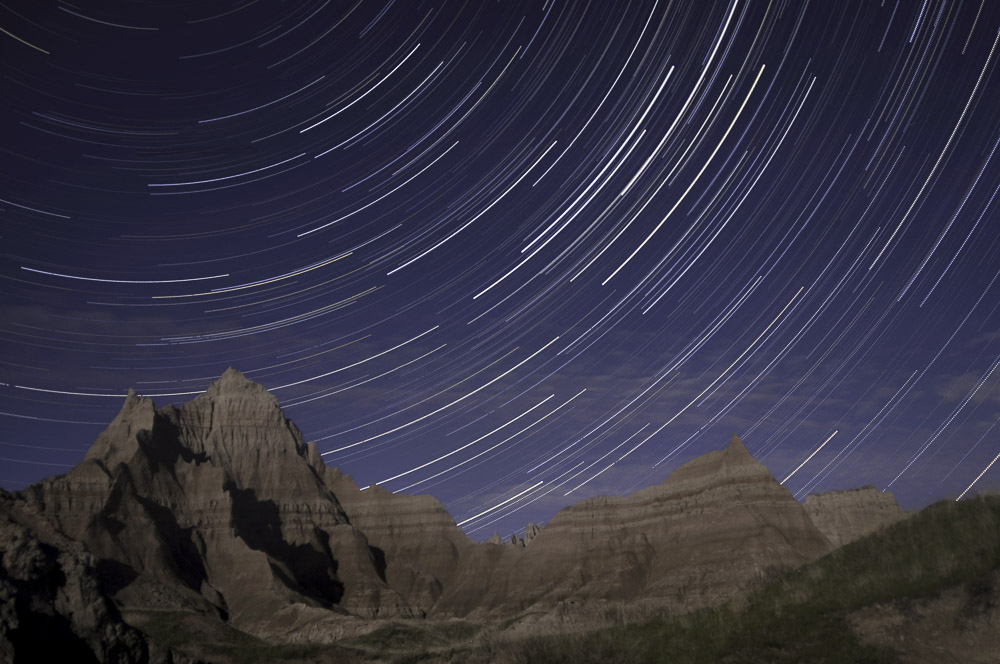
Stacked star trails photo, Badlands National Park
Finally, there is actually a star trails feature built into Photoshop. It requires you to separately capture a blank star field, with no landscape, and whatever foreground landscape you want to have in the image. To create the star trails using this method, open up your RAW star field file in Adobe Bridge, adjusting the Clarity to bring out the whites of the stars. For the rest on what to do, I suggest this video tutorial by Nemanja Sekulic. I only present this as an option to consider - I am not a fan. The result is garish and hokey.
Now, let me set something straight. By noting these newer methods of stacking multiple images as an alternative to a single-image star trails shot does not mean I am a big fan. In fact, the opposite is true. I find stacked star trails images to be a poor substitute to the single-image approach. The lines are not as smooth and the shorter exposures do not bring out the diversity of colors you will see in stars. Only the long exposures can bring those colors out. When the phase of the moon permits, a single image will always be my preference. But, if the moon is too bright, and a star trails image is a “must,” then the stacked image can provide an alternative.
The nighttime is a wonderful time to be out in the winter, especially on a cold, clear night. Just because the aurora has not come out as you hoped does not mean you have to go home empty-handed.
Stacked star trails image, Hatcher Pass, Alaska
Multi-hour star trails photo using Fuji Velvia film, Chasm Lake, Rocky Mountain National Park
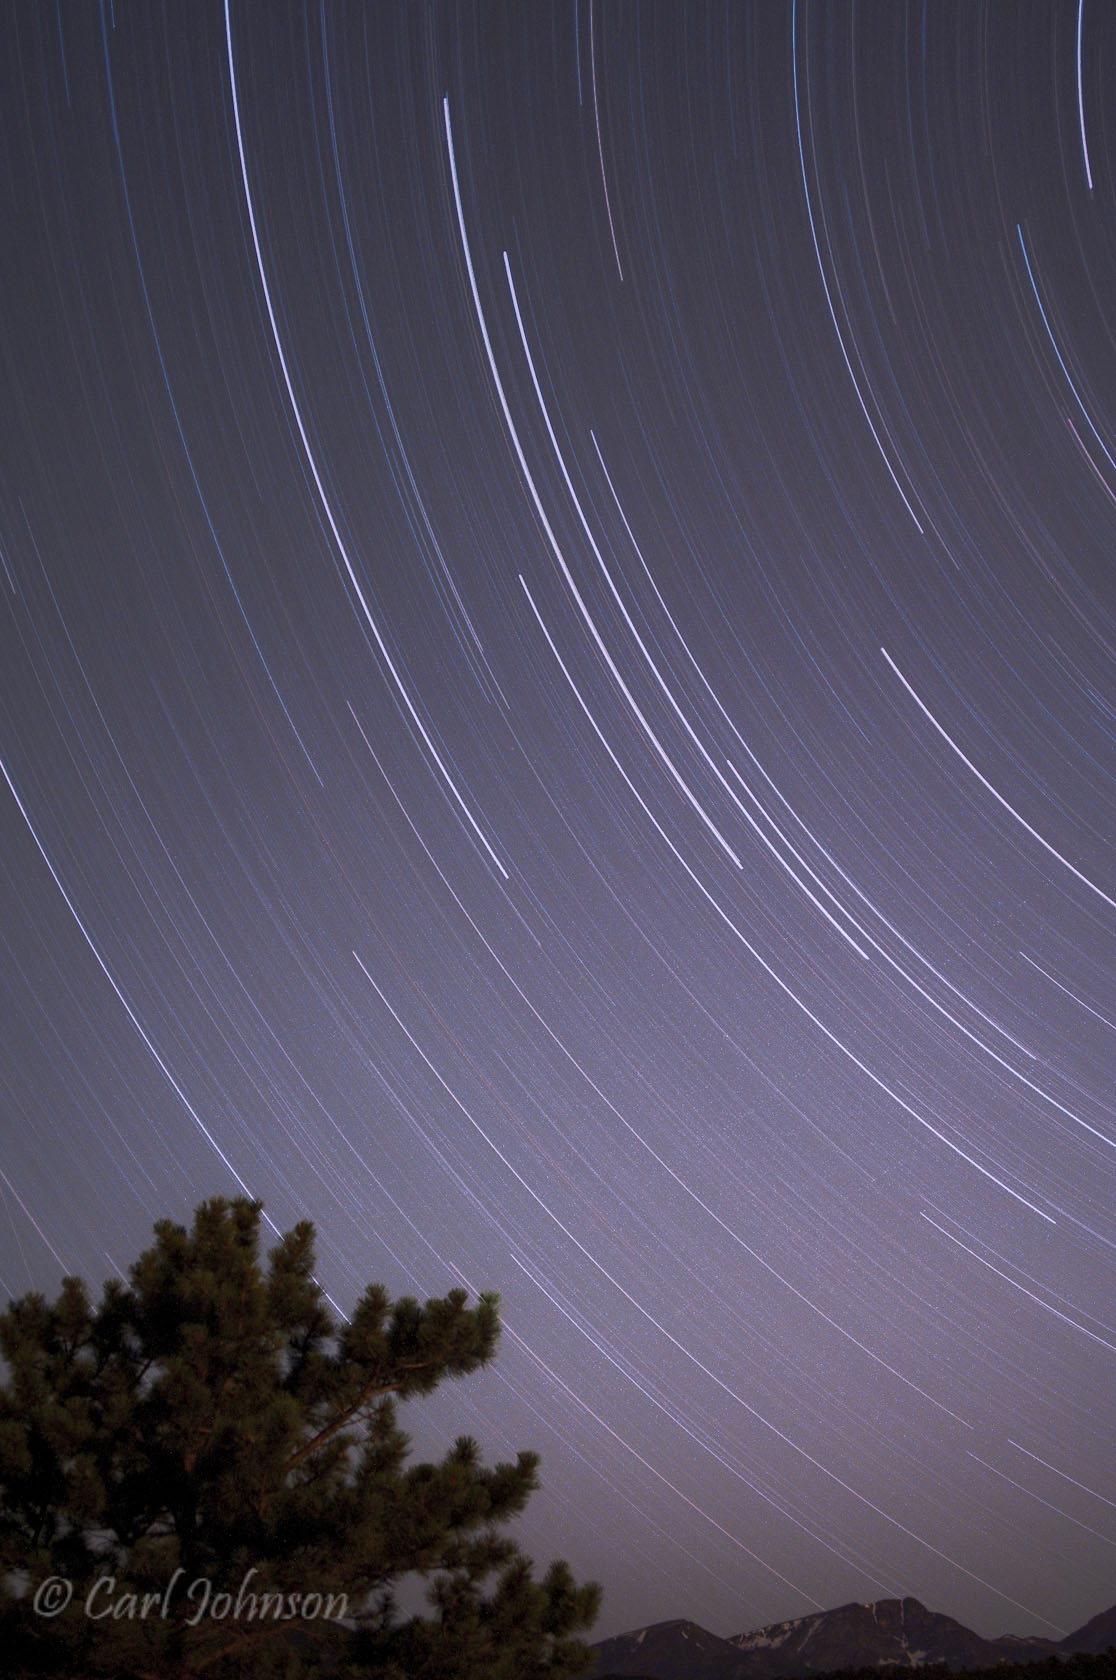
Single frame digital star trails, Rocky Mountain National Park
Stacked star trails photo, Badlands National Park

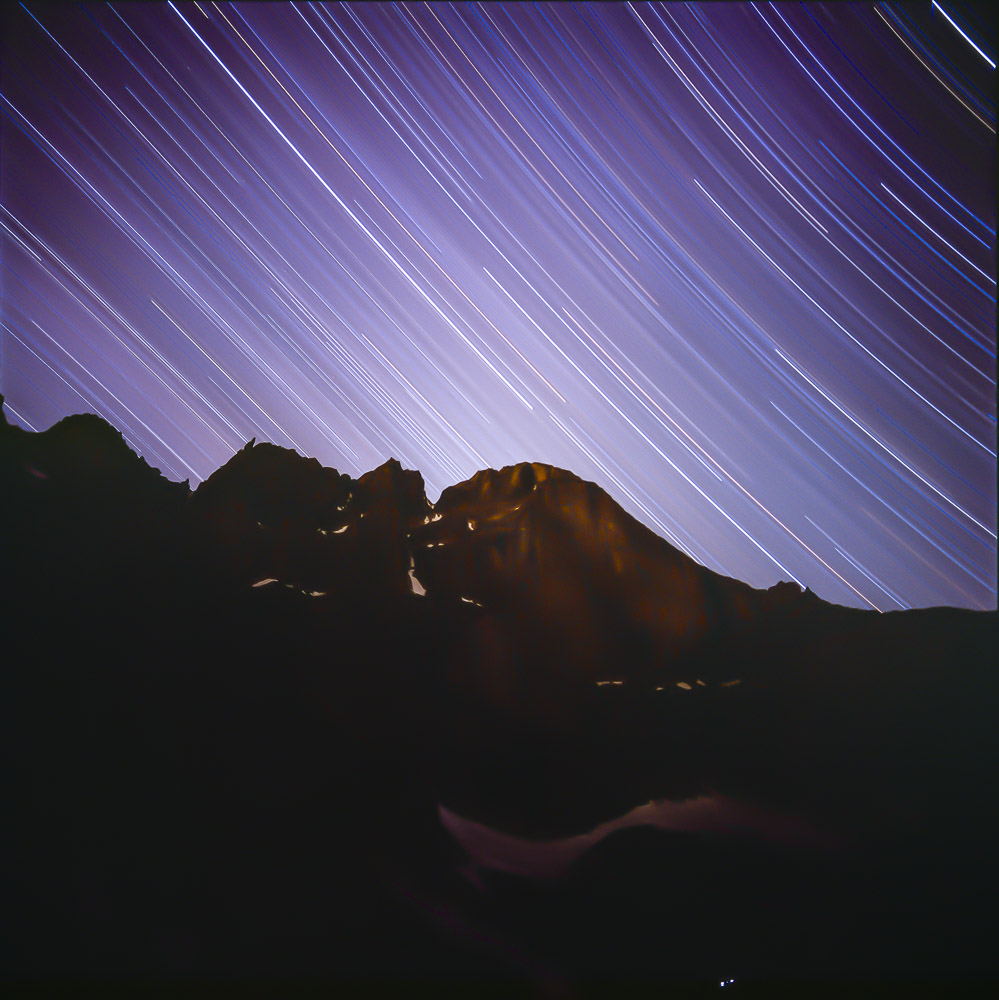
Single-frame star trails with aurora borealis, Portage Valley, Chugach National Forest

It was election night in 2012, and I decided to head out and try photographing the aurora borealis. I was still in my aurora photography infancy stage and was not as good as understanding the spaceweather data as I am now. I drove to Portage Valley in the Chugach National Forest, about an hour south of where I live in Anchorage. It was a clear, crisp night. I waited for a while and no aurora appeared. So rather than waiting aimlessly, I decided to set up my tripod in Bulb mode, lock open the shutter with my cable release, and take a nap. Two hours later, I shut the shutter and had this marvelous image of the star trails in the night sky, centered around the North Star with just a hint of aurora borealis on the horizon.